
Table of Contents
أهم 5 مميزات لخيمة Vidalido Teepee Auto Tent Pro
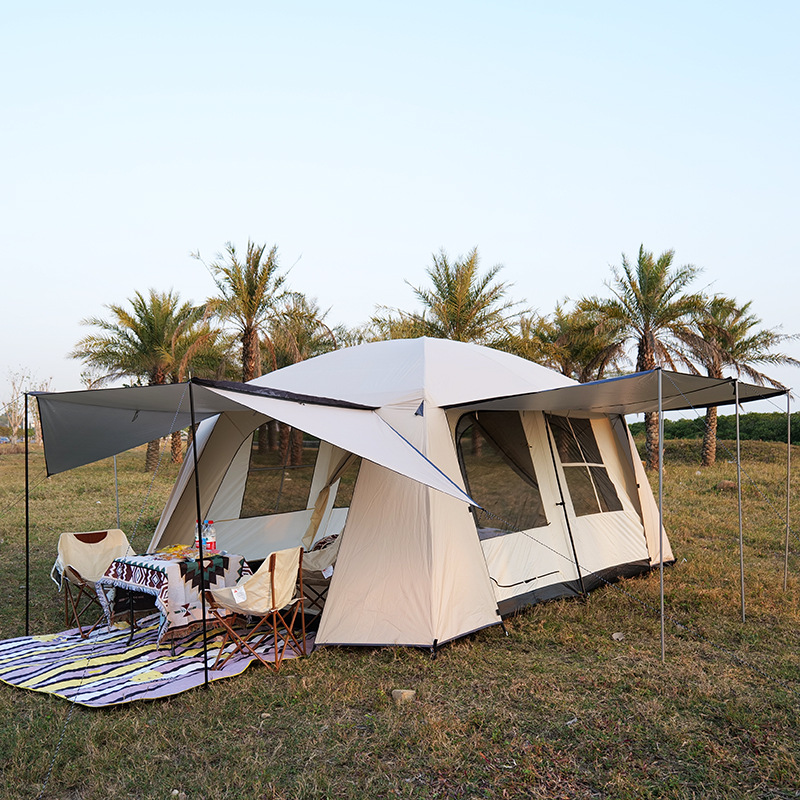
خيمة الهرم
| خيمة المظلة | خيمة ريدج | خيمة التنزه | خيمة القبة |
| خيمة تيبي | خيمة يورت | خيمة قابلة للنفخ | خيمة النفق |
| خيمة الكرة | خيمة الحديقة | خيمة الباب الخلفي | كيفية إعداد خيمة Vidalido Teepee Auto Tent Pro وإنزالها بشكل صحيح |
خيمة الظهر المنبثقة
خيمة نيمو تشوجوري 2
الخيمة والديكور الخفيف
| أوزارك درب 3 أشخاص خيمة إطار | الخيام الصينية | عندما تشرق الشمس معا |
| بعد ذلك، افتح الخيمة وقم بتمديد الأعمدة المتداخلة حتى يتم تثبيتها في مكانها. تتميز خيمة Vidalido Teepee Auto Tent Pro بنظام إعداد تلقائي، بحيث يتم تثبيت الأعمدة في مكانها من تلقاء نفسها بمجرد تمديدها بالكامل. تأكد من تثبيت الأعمدة في مكانها بشكل آمن قبل الانتقال إلى الخطوة التالية. بعد تثبيت الأعمدة في مكانها، قم بتثبيت ذبابة المطر في الجزء العلوي من الخيمة. يجب تأمين ذبابة المطر بالمشابك أو الأشرطة المرفقة لضمان بقائها في مكانها أثناء الظروف العاصفة. بمجرد تثبيت ذبابة المطر، يمكنك تثبيت زوايا الخيمة لتثبيتها على الأرض. الخطوة الأخيرة في إعداد Vidalido Teepee Auto Tent Pro هي فتح الباب والنوافذ للسماح بالتهوية. تتميز الخيمة بنوافذ متعددة وباب كبير يمكن فتحه وإغلاقه حسب الحاجة. سيساعد ذلك في الحفاظ على الخيمة باردة ومريحة أثناء الطقس الحار. | إن إزالة خيمة Vidalido Teepee Auto Tent Pro أمر سهل تمامًا مثل إعدادها. الخطوة الأولى هي إزالة الأوتاد من زوايا الخيمة وفصل ذبابة المطر من الأعلى. بمجرد إزالة ذبابة المطر، قم بطي أعمدة التلسكوب عن طريق الضغط على أزرار التحرير ثم طيها مرة أخرى. | بعد انهيار الأعمدة، قم بطي الخيمة مرة أخرى ووضعها في حقيبة الحمل التي تأتي مع الخيمة. تأكد من طي الخيمة بشكل صحيح لتجنب إتلاف القماش أو الأعمدة. بمجرد تجهيز الخيمة، تصبح جاهزًا للانطلاق في الطريق والتوجه إلى مغامرتك التالية. في الختام، Vidalido يعتبر Teepee Auto Tent Pro مأوى متعدد الاستخدامات وسهل الاستخدام ومثالي للتخييم أو المهرجانات الموسيقية أو أي نشاط خارجي آخر. باتباع الخطوات البسيطة الموضحة في هذه المقالة، يمكنك إعداد خيمتك وإزالتها بسهولة وسرعة. سواء كنت من تخييم محنك أو مستخدم خيمة لأول مرة، فإن خيمة Vidalido Teepee Auto Tent Pro هي خيار رائع لمغامرتك الخارجية القادمة. |
Next, unfold the tent and extend the telescoping poles until they lock into place. The Vidalido Teepee Auto Tent Pro features an automatic setup system, so the poles will snap into place on their own once they are fully extended. Make sure that the poles are securely in place before moving on to the next step.
After the poles are in place, attach the rainfly to the top of the tent. The rainfly should be secured with the included Clips or straps to ensure that it stays in place during windy conditions. Once the rainfly is attached, you can stake Down the corners of the tent to secure it to the ground.
The final step in setting up the Vidalido Teepee Auto Tent Pro is to open the door and windows to allow for ventilation. The tent features multiple windows and a large door that can be opened and closed as needed. This will help to keep the tent cool and comfortable during hot weather.
Taking down the Vidalido Teepee Auto Tent Pro is just as easy as setting it up. The first step is to remove the stakes from the corners of the tent and detach the rainfly from the top. Once the rainfly is removed, collapse the telescoping poles by pressing the release Buttons and folding them back up.
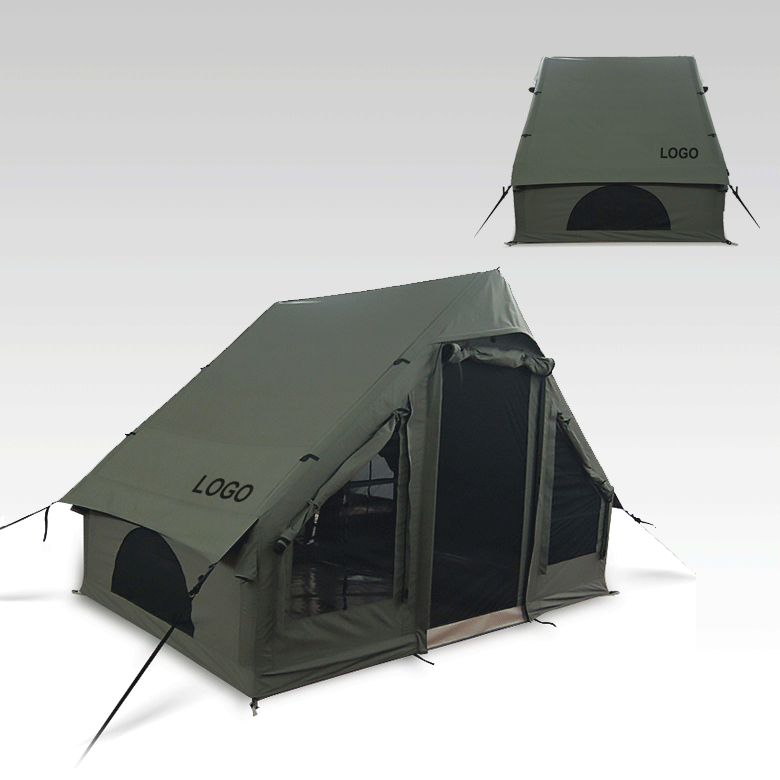
After the poles are collapsed, fold the tent back up and place it in the carrying bag that comes with the tent. Make sure to properly fold the tent to avoid damaging the Fabric or poles. Once the tent is packed away, you are ready to hit the road and head to your next adventure.
In conclusion, the Vidalido Teepee Auto Tent Pro is a versatile and easy-to-use shelter that is perfect for camping, Music festivals, or any other outdoor activity. By following the simple steps outlined in this article, you can quickly and easily set up and take down your tent with ease. Whether you are a seasoned camper or a first-time tent user, the Vidalido Teepee Auto Tent Pro is a great choice for your next outdoor adventure.