
Table of Contents
How to Install Remote RGBW Star Ceiling with Fiber Optic Light
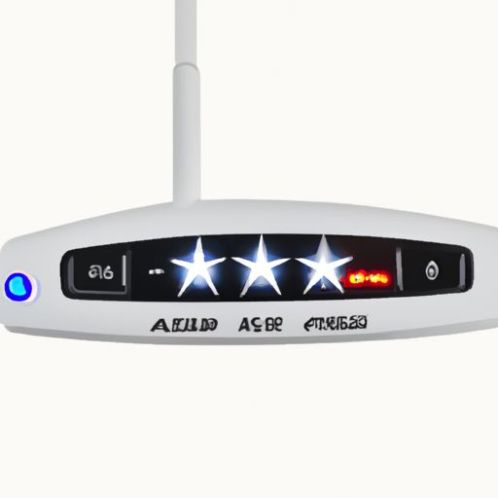
Remote RGBW star Ceilings with fiber optic lights are a popular choice for adding a touch of magic to any space. These star ceilings can create a stunning visual effect that mimics a starry night sky, making them perfect for bedrooms, home theaters, or even cars. In this article, we will discuss how to install a remote RGBW star ceiling with fiber optic lights, specifically focusing on the car star roof starlight headliner RF system.
Before you begin the installation process, it is important to gather all the necessary materials and tools. You will need a star ceiling kit that includes fiber optic cables, a light source, and a remote control. Additionally, you will need a power source, adhesive, and a drill for mounting the fiber optic cables.
The first step in installing a remote RGBW star ceiling is to determine the layout of the fiber optic cables. Start by measuring the dimensions of the ceiling or surface where you plan to install the star ceiling. Once you have the measurements, mark the locations where you want to place the fiber optic cables. It is important to space the cables evenly to create a realistic starry sky effect.
Next, drill holes in the ceiling or surface where you marked the locations for the fiber optic cables. Make sure the holes are large enough to accommodate the cables without causing any damage. Once the holes are drilled, feed the fiber optic cables through the holes and secure them in place using adhesive.
After the fiber optic cables are in place, it is time to install the light source. The light source is what will illuminate the fiber optic cables and create the starry sky effect. Connect the light source to the power source and place it in a central location to ensure even distribution of light.
Once the light source is installed, it is time to connect the fiber optic cables to the light source. Follow the manufacturer’s instructions for connecting the cables to the light source, making sure to secure the connections properly. Once the connections are secure, test the system to ensure that the fiber optic cables are lighting up properly.
Finally, it is time to program the remote control for the RGBW star ceiling. The remote control allows you to adjust the color and brightness of the lights, as well as create different lighting effects. Follow the manufacturer’s instructions for programming the remote control, and experiment with different settings to find the perfect lighting for your space.
In conclusion, installing a remote RGBW star ceiling with fiber optic lights can add a touch of magic to any space. By following these steps and using the right materials and tools, you can create a stunning starry sky effect that will impress anyone who sees it. So why wait? Install a remote RGBW star ceiling today and bring the Beauty of the night sky into your home or car.